Are you interested in sound recording for video, particularly interviews?
Do you work as a single shooter, taking charge of sound recording as well as videography?
If the answer to either of the above is yes then read on to find out more about sound recording for video interviews.
We don’t need to use the very best available equipment for great sound recording on our corporate videos. Neither do we need a dedicated sound recordist in our crew. However, we do need to adopt certain routines to get high-quality sound during our corporate interviews. And, if we’re working alone, as solo shooters, that responsibility sits squarely with us.
It’s very tempting to put all our effort and concentration into the visual side of our corporate movies. But if we’re not careful we fall into the trap of thinking that the sound takes care of itself. However, in most movie production, including corporate marketing videos, good audio is every bit as important as visual content. This is because we use speech to tell much of the story. So, we need to make the sound of the storyteller as intelligible and as engaging as possible.
In this post, I’ll discuss how we can make the speech in our corporate interviews as clear as possible. I’ll be talking in the context of a solo shooter who is directing, filming, interviewing, and recording audio. However, we can apply the same ideas to all sorts of movie-making. We can also apply them whether working alone or as a sound recordist in a production team.
Basic issues and misunderstanding in sound recording for video
One of the most common problems that novice shooters encounter is that of indistinct, ‘echoey’, and noisy sound. This usually happens because they’re using the microphones built into their recording devices. Whether they’re using DSLR cameras, camcorders, or even mobile devices, they will probably get poor audio. They are, in fact, facing several issues, which combine to produce very disappointing results! Firstly, despite manufacturers’ claims, the quality of built-in mics is inevitably poor. This is because they receive a tiny portion of the device’s development and manufacturing budget. While built-in mics on professional-grade camcorders may be better, this still applies to a large extent. This is because manufacturers know that anyone who’s serious about video production understands two other problems with built-in mics:
- They pick up electronic, mechanical, and handling noise from the camera very easily
- You have to get your mic in close to the sound source to record sound well. This is difficult if you use the built in mic on your camera.
In our interview scenario, we need to record a specific target sound, i.e. the voice of our interviewee. This means that a built-in mic will never give good results! To get good results we need to use a separate, external microphone, ideally mounted off-camera.
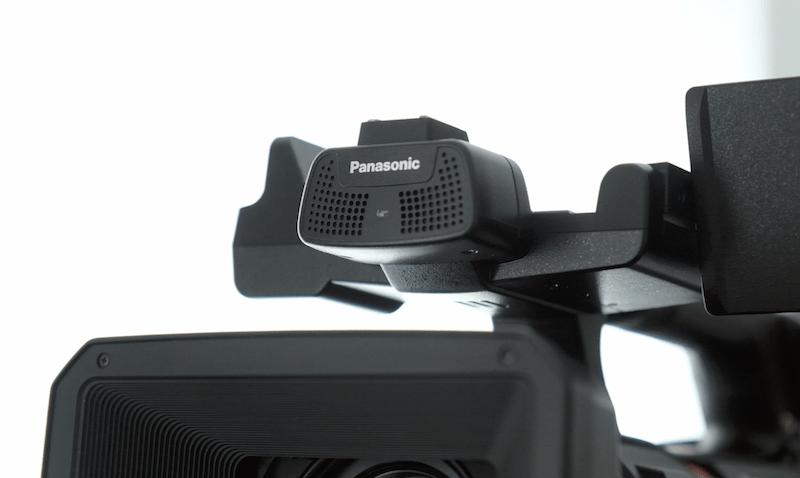
Even built-in mics on professional camcorders can never do a really good job of capturing targeted audio for something like an interview.
Mic proximity (not to be confused with the proximity effect)
This last of the issues outlined above foxes many people. This is because they assume that microphones hear in the same way we do. In reality, our brains do a phenomenal job of processing the massive array of sounds that our ears consume. Our brains simply filter out sounds that we don’t need or that are in the way of what we’re trying to listen to.
Unfortunately, microphones don’t work this way. Some mics, described as cardioid or unidirectional, are designed to be more sensitive to sounds coming from a particular direction. However, they still hear all sorts of unwanted environmental sound, including room reverberation (that ‘echoey’ stuff I mentioned earlier). If we want a good speech recording for our marketing video, we need the mic close to the talent. We call this good mic proximity. Good mic proximity effectively makes the direct sound of their voice (signal) much louder than everything else (noise). In other words, we now have a good signal-to-noise-ratio (SNR).
It makes sense, therefore, that to address the problems caused by poor mic proximity, it’s best to use an external microphone, off-camera.
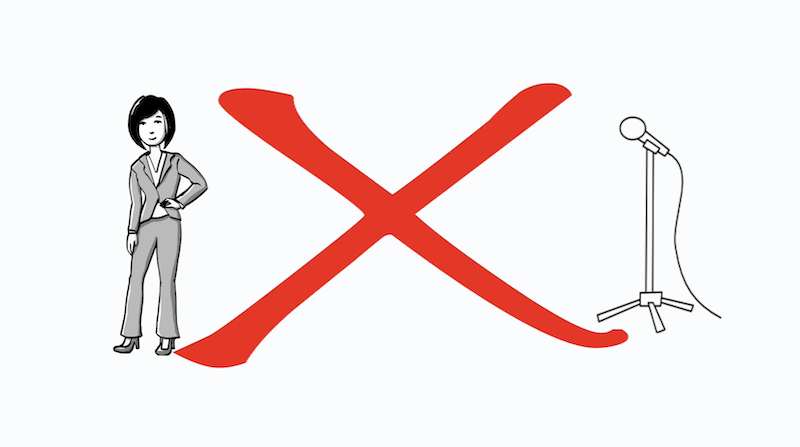
A microphone placed at a distance to your talent will not record speech well.
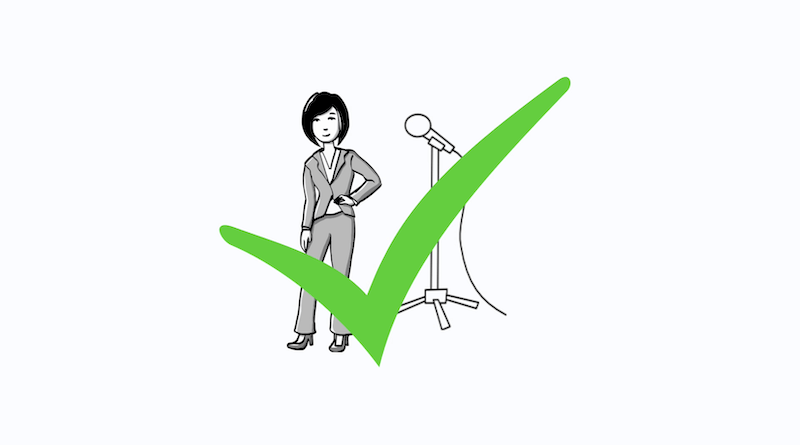
A microphone placed in close proximity to your talent will do a much better job of capturing their voice.
Microphone choices
Probably the two most common types of microphones used by grassroots videographers are shotgun mics and lavalier or lapel mics. For instance, a wedding videographer will typically shoot with a camera mounted shotgun mic, when capturing general footage. But for the ceremony they will probably place a wireless lav mic on the Groom. This enables them to pick up the detail of the exchange of vows, etc.
For indoor interviews a small diaphragm condenser mic (SDC) will generally give better results than a shotgun mic. However, we’ll concentrate on the mic types you’re most likely to have at your disposal.
Shotgun mics
Top-level shotgun mics can easily run to £1000+, but perfectly respectable shotgun mics are available in the sub £250 price band: The Rode Video Mic Pro Plus, the Audio Technica AT897, or the Sennheiser MKE600, for example. Several manufacturers are also now producing miniature shotgun mics, aimed specifically at mobile device shooters. These include the Rode Video Mic Me or, alternatively, the Saramonic SmartMic+ which both retail for less than £75.
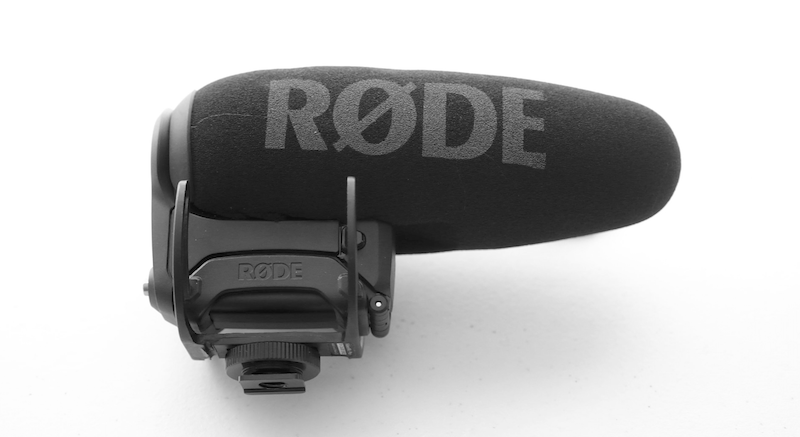
The ubiquitous Rode Video Mic Pro Plus, camera mounted shotgun mic.
Lavalier (tie clip/lapel) mics
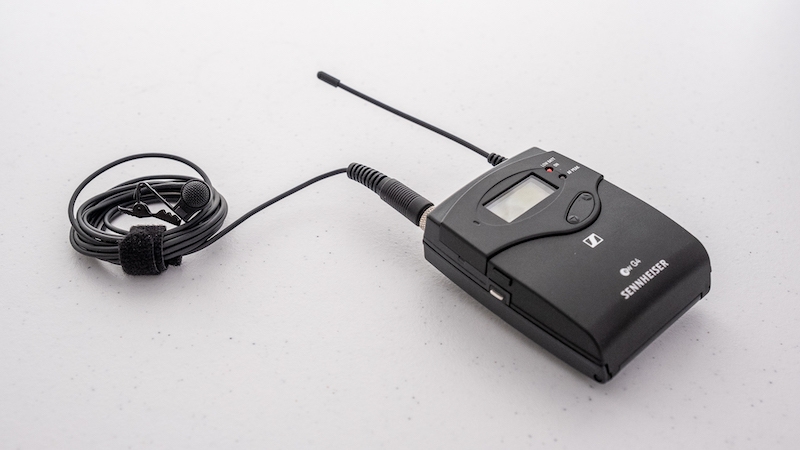
We can use lavalier or lav mics, such as the Sennheiser ME2, the Rode Lavalier Go, or the Sony ECM-V1BMP either wired or wirelessly. They are ideal for isolating and capturing individual voices, particularly useful in noisier environments. This is because we can deploy them very close to the sound source without being too visible. We can also hide Lav mics completely underneath clothing, though this can affect their sound. You can purchase perfectly good lav mic for around £100. However, if you add a reliable wireless system to this the cost will increase considerably. You can save money by purchasing a kit, that includes both a lav mic and wireless system. Several manufacturers produce lav mics aimed specifically at the mobile shooter market, including the Rode Smartlav+ or the Saramonic Sr–lmx1.
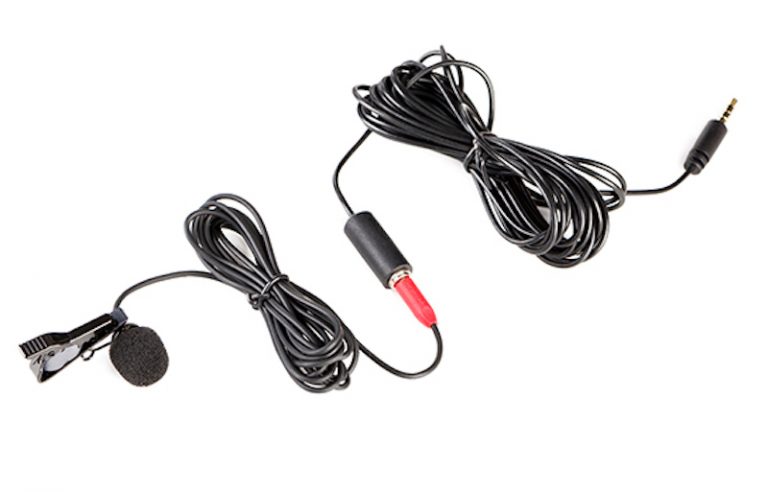
The Saramonic Sr–lmx1, shown with an extension cable. A lav mic aimed firmly at the mobile shooter market.
You may be thinking that potentially spending several hundred pounds on microphones is extravagant. However, you have probably spent many times this amount on a camera. If your sound is as important as your video, it makes sense to set a realistic budget for it.
While wireless lav mics are commonplace, we can also use shotgun mics wirelessly, with an XLR transmitter. This usually requires a battery-powered mic although you can get XLR transmitters with phantom power. News teams often use handheld shotgun mics with wireless transmitters. This is because they’re easy to share between interviewer and interviewee/s, requiring much less time to deploy than lav mics.
Ambient sound
Good sound recording doesn’t start with equipment, it starts with understanding your recording environment. This will in turn inform you which kind of mic to choose and how best to deploy it.
Step one is to listen! Even in an apparently silent room, you’re likely to hear sound like air-conditioning units, extractor fans or buzzing lights. You may also hear distant traffic noise getting in through an open window. However, unless we deliberately listen for them, our brains, have a habit of filtering these background sounds out. If you hear any of these issues, simply switch off the offending appliances and close any open doors or windows.
Assessing reverb issues
Next, clap your hands and listen to the sound of the room itself, the room acoustics. If you’re lucky, the sound of your handclap will die very quickly. This is because acoustic energy is being absorbed by carpets, soft furnishings, and curtains, instead of being reflected as reverb. However, if there’s considerable audible reverb, you may want to try calming this down before you begin. If you do a lot of interview work, it’s worth carrying acoustic blankets, like the Producer’s Choice products from vocalboothtogo. These are surprisingly cheap for a specialist product. Failing that, some heavy domestic quilts will help. If the floor is hard a nice thick rug will also help to stop reflections from below.
Beyond your control
At this point, if you can’t treat reverb problems, you could use a lav mic rather than a shotgun. You can place a lav mic very close to the target sound source, without being obvious in the frame. This gives you a much better SNR as explained above. Please note that the design of shotgun mics can produce an oddly coloured sound if there’s a lot of reverb.
If you’re shooting outdoors, you might have little or no control over environmental noise. However, understanding what you’re up against might help you decide on mics and mic placement. For example, if you’re shooting in an area with lots of traffic noise, a lav mic is the obvious choice. Alternatively, a shotgun mic, positioned side-on to the road, would do a great deal to reject the unwanted sound.
Lastly: make sure everyone involved has turned off their mobile phone or put it into flight mode!
Sound recording when filming indoors
If you’re shooting indoors, you will have more control over your filming environment. You’ll also probably have more setup time than if you’re working outdoors. When possible, you should use cables rather than wireless. These should improve your sound quality, as well as being more reliable.
If you’ve chosen to use a shotgun mic, boom this in overhead, in front of your talent. You should angle the mic at their chest rather than at their mouth. This placement provides a good rich sound and reduces the chances of any plosives or popping. It also allows some back and forth movement by your talent without going off-axis. Place the end of the mic just out of frame. This means that it is as close as possible to the interviewee without being visible in the frame. You should also check that your mic isn’t casting any unwanted shadows on your talent or background.
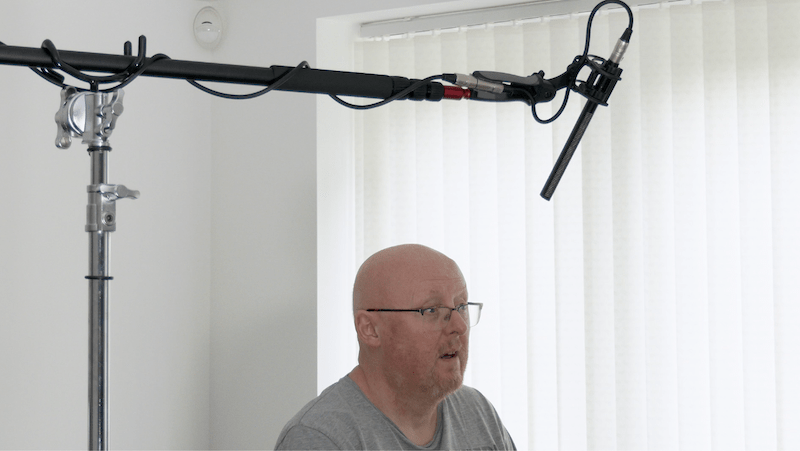
A shotgun mic boomed in just out of frame, above, and just in front of the talent will give good results in most cases.
Avoiding the effects of gravity
When booming a mic like this, you should ensure that your mic stand is up to the job. Even a small weight on the end of a boom exerts a lot of torque on the stand. A falling mic stand definitely won’t impress your talent, particularly if it hits them on the way down! If possible, use a C Stand with a boom pole attachment, as the bases of these are very heavy. Alternatively use a purpose-built overhead mic stand that has a counterweight. If you’re in any doubt as to the stability of your stand, leg weights can be use to add ballast.
Using a lav mic
When working with a lav mic, clip it to your talent’s clothing 8-10 inches / 20-25 centimeters below their chin. Ideally, the mic should be fairly central. This means that they can move their head to either side without affecting the sound too much.
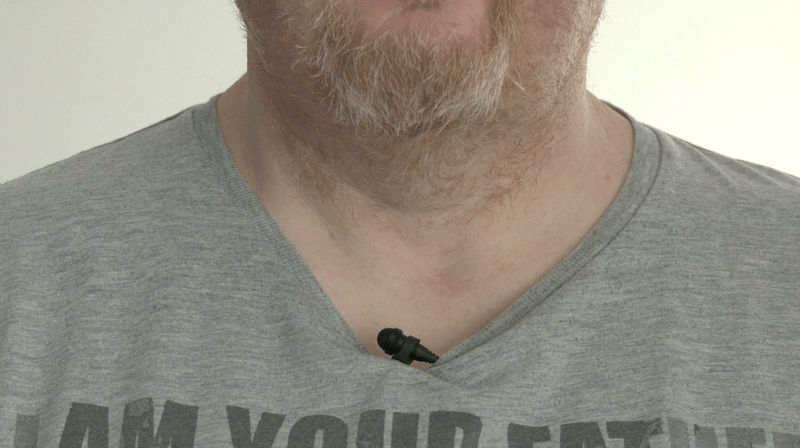
Lav mics should be placed fairly centrally about 8-10 inches or 20-25cm below the talent’s chin.
Try to hide lav mic cables under your talent’s clothing. You miss the point of using a tiny, unobtrusive mic if there is a load of cable visible. You should also make sure that both cables and wireless transmitters are secure! Any movement of these will transfer to the mic and will be audible on your recording. Tie a broadcast loop in the lav mic’s cable, which is a loose loop, fairly near the mic itself. This helps to absorb the effects of the cable getting tugged if it gets caught. If time allows, it’s not a bad idea to take the lav mic cable to your talent’s clothing. This will help stabilise it as your talent moves around.
Sound recording when filming outdoors
When filming outdoors, your choice of mic and how you deploy it will be down a combination of factors:
- Noise in your shooting environment.
- How mobile you need to be during the shoot.
- Whether or not your location is busy.
- How many subjects you’re actually interviewing.
- Adverse weather conditions may also impact on the speed at which you need to deploy your gear.
In a particularly noisy environment, a lav mic would probably be the obvious choice. This would depend, however, on how much time you have with your talent for rigging the mic. If you’re working in one location, you might be happy to use cables to connect to your camera. Although, if the area was particularly busy, this might present potential snagging and tripping hazards for an unwary member of the public. At a busy festival, for example, wireless would most definitely be a better choice.
In some situations, where cables just aren’t a viable option, a wireless lav mic is a sensible choice.
If you absolutely must use a camera mounted mic when sound recording
If you don’t have a wireless lav, you may prefer to using a camera-mounted shotgun mic. The same thing applies if you’re interviewing multiple talents. This would avoid you having to rig and retrieve a wireless lav system repeatedly. When you’re using a camera-mounted mic, you need to get in as close to your talent as possible (see above). This means shooting with your lens at a wider angle to frame your subject and their surroundings. Don’t be tempted to step back and zoom in to achieve suitable framing. You will be increasing the distance between your mic and talent. This will effectively reduce the ratio between your target sound level and the background noise. (SNR)
If you really have to use a camera-mounted shotgun mic, shoot at a wide-angle so that you can get in good and close to your talent, thereby maintaining reasonable proximity between mic and sound source.
XLR Transmitters
An alternative solution, for faster moving outdoor shoots, is to use a handheld shotgun mic with an XLR transmitter. Good examples of these are the Sennheiser SKP 500, the Rode TX-XLR, or the Saramonic TX-XLR9. This is often the preferred choice for newsgathering teams. They want good mic proximity, but don’t necessarily want to rig a wireless lav system, as this takes time. Don’t forget that if you plan on using an XLR transmitter you need to check that either:
- Your shotgun mic can be battery-powered.
- Your XLR transmitter delivers phantom power.
Essential accessories for video sound recording
If you’re using a shotgun mic or SDC on anything but a stand, you must use a decent shock mount! Otherwise any handling noise from handling the camera or from handling the mic itself will be picked up. In addition, regardless of what kind of mic you’re using, when recording outdoors you should use a windscreen or Deadcat. Even a slight breeze hitting your mic can sound like an express train running through your set.
Learn more about essential accessories for successful videography.
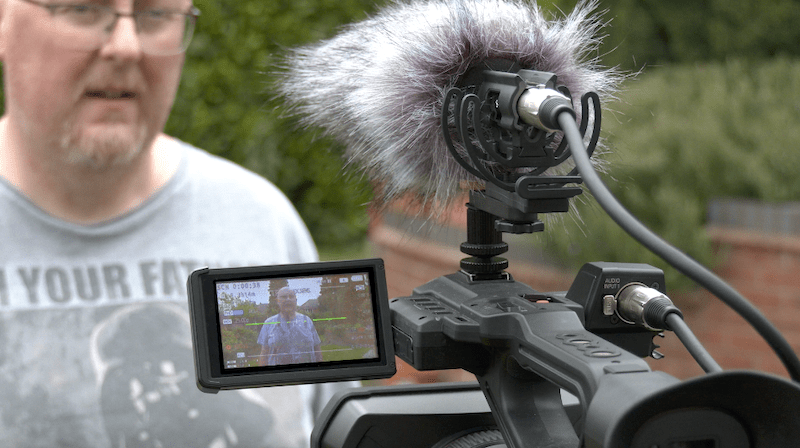
An external field recorder, like the Tascam DR60, is the preferred method for recording audio when shooting with a DSLR.
Recording devices
Depending upon your camera, there are three main methods for recording audio that you could use:
- Recording directly to your camera by plugging a mic into your camera’s mic input.
- Using an external mic preamp or mini mixer to condition the microphone signal before going to your camera.
- Using an external field recorder to record your audio and then synchronising this to your video in post-production.
If you’re using a device that originated as a still camera, e.g. a DSLR or mirrorless camera, I don’t recommend recording directly to the device. This is primarily because these devices have a well-deserved reputation for low-quality, noisy preamps. In addition, these devices tend to only record audio at 16 bits. This reduces your available dynamic range (the difference between the loudest and quietest signal that can be recorded) significantly. Another issue is that ‘still’ type cameras don’t support phantom power. This means that you will need a shotgun mic that can be battery powered, which reduces your choice. These include the Rode Video Mic Pro+ or the Sennheiser MKE600. Lav mics invariably require ‘plugin’ power, which is provided by most ‘still’ type cameras and mobile devices. You should check the specification of your equipment before making a purchase, however.
Mic preamp
Using an external mic preamp increases the gain of an external mic signal, allowing you to reduce the gain on your camera’s audio input to a minimum. This effectively eliminates the problem of camera preamp noise and gives a much cleaner audio signal going to the camera. In addition, camera mounted mic preamps, like the Saramonic SR-PAX2, often provide additional features, such as supplying phantom power to external shotgun mics that don’t provide their own battery power, and the ability to mix signals from two or more mics. What this method doesn’t do, however, is overcome the dynamic range restrictions of 16-bit recording.
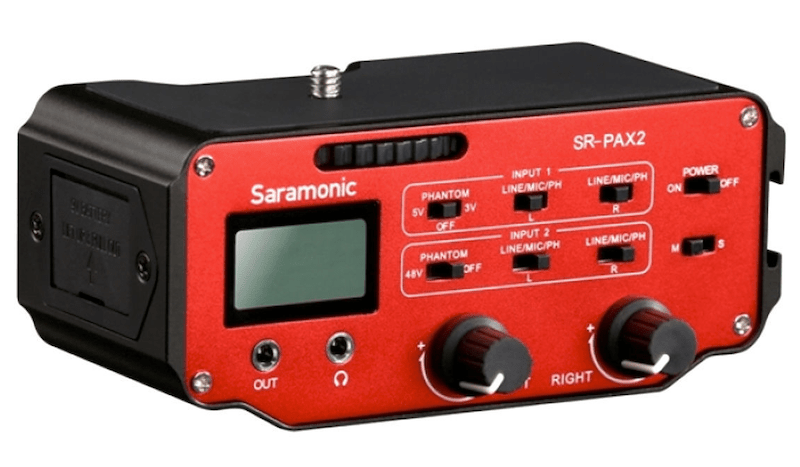
A camera top mic preamp or mixer like the Saramonic SR-PAX2 conditions the incoming mic signal and provides phantom power for shotgun mics.
Using an external recorder/field recorder for video sound recording
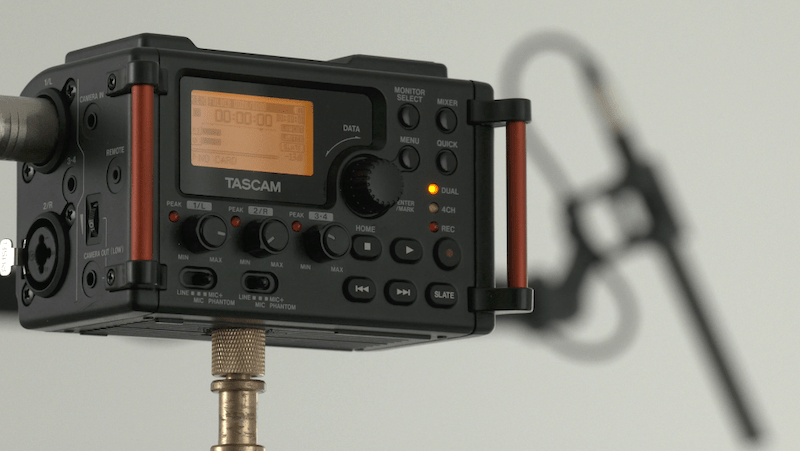
Alternatively, you can use an external field recorder, such as the Tascam DR60, to record your audio, taking advantage of both better mic preamps and 24-bit recording. This mean that your audio track will require synchronising to your video in post-production. Many shooters think this is a small price to pay for higher quality audio. Field recorders tend to offer an array of options for conditioning audio signals. They can usually handle two or more mic inputs, recording the input from each mic separately. This means that mixing can be done, at your leisure, in post-production. Field recorders also supply phantom power to microphones that need it.
If you use an external recorder, you also need to simultaneously record the audio into your camera. This gives you a reference audio track, which is embedded in your video files. You can then use this as a master track to sync your high-quality external recording to in post-production. It is possible to sync to video footage alone, but this is much more challenging and time-consuming to do. You can do this by connecting the two devices with a mini-jack cable. Alternatively you can also record with your camera’s built-in mic at the same time. A single loud handclap at the start of every take will make syncing audio fairly easy. All you then have to do is align the audio peak from each recording.
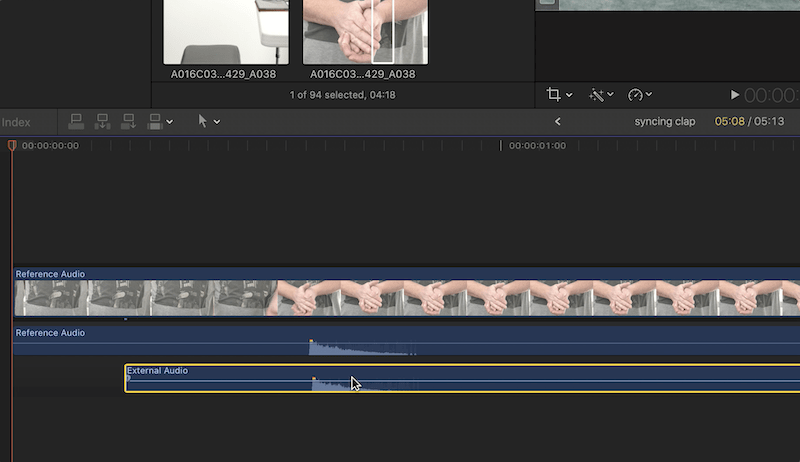
If you have a clear, transient signal peak at the start of both your externally recorded audio track and your reference audio track, aligning them in post-production is very straightforward.
Professional grade camcorders and cinema cameras tend to have good quality mic preamps. They are also more likely to record at 24bits and to supply phantom power. This largely negates the need to use either an external preamp or external recorder.
Ready to go
Once everything’s rigged, you will need to do a sound check with your talent before you begin recording. This will enable you to establish good input levels for your recording. It is highly inadvisable to rely on automatic recording levels, even the very best of which can sound pretty awful. Much better to set your recording level manually.
Get your talent to read a short poem or tell you about their journey to the shoot. An extended speech gives you a much better idea of how they will speak during filming than saying ‘1,2 1,2’. You will also get a much better idea of how the volume levels of their voice are likely to change. Your main recording level should be set to average around -12db on your audio meters. You should avoid letting your meters hit 0db or going red. This means the signal is clipping or distorting, which will be audible on playback.
Being prepared for better results when sound recording for video
If your equipment allows, record a safety track around 10-12db below your main audio track; so that if you do get an unexpected peak in volume, you can cut to this in post. This also avoids the temptation to ‘ride’ the recording level in response to the changing level of your talent’s voice. Doing this can cause far more issues than it solves. If your recording device has an audio limiter, you can use this to contain the hottest transient peaks. However, you should not rely on it to compensate for average recording levels that are simply too high. This gives an unnatural, ‘squashed’ sound on playback.
Before starting your interview, particularly if you’re in a noisier environment, record maybe 30 seconds of the ambient sound. This gives you a section of background noise that matches the background of your main audio track. You can use this for sound bridges over gaps in your main audio track during post. These are often added during editing by things like transitions or B-roll sequences longer than the audio clip beneath. Background sound will generally sound far better than sections of silence.
Recording, finally!
Once you start recording it’s important to monitor your audio throughout, preferably over decent closed-back headphones such as the Sennheiser HD380 Pro, rather than by simply watching the audio meters. Don’t be tempted to use ‘noise canceling’ headphones. Tese are designed to filter out exactly the kind of noise that you really need to hear during recording. Using them could set you up for some nasty suprises. In addition, wearing headphones releases your eyes to focus on the action rather than on your sound level meters. There’s also something about wearing headphones that sharpens our listening senses. I always notice things like slammed doors or distant police sirens much more easily when I’m wearing headphones.
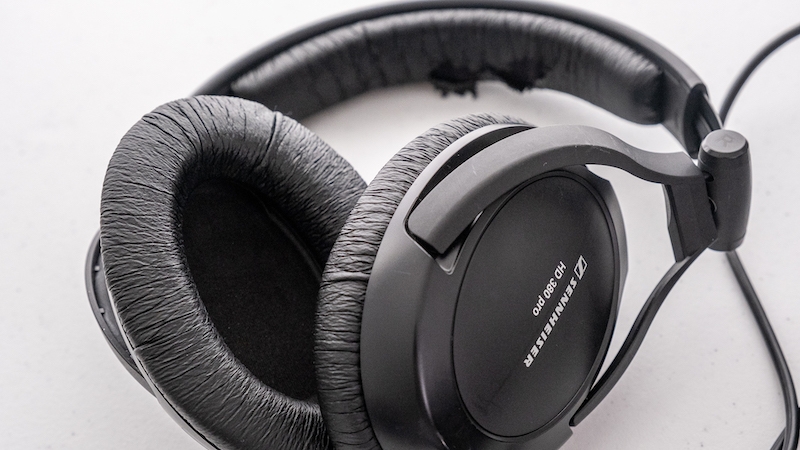
Good closed-back or ‘extreme isolation headphones are essential to monitoring audio during a shoot. These should not be confused with noise-canceling designs, which could filter out a lot of ambient sounds that you really need to hear.
When you’ve finished, let your talent take a break while you check your clips for any issues with the audio. Hopefully, everything’s fine, and you have a good quality soundtrack for your video interview. However, if there’s a problem, it’s better to do retakes while you’re set-up, with the talent at your disposal. Scheduling a re-shoot is always a pain.
Learn more about my video production services.
Stourbridge-based Mooma Media offers event audio-visual support, event filming, live-streaming, video production, and still photography services to businesses, the public sector, and other non-commercial organisations throughout the Black Country and the wider West Midlands region. To discuss your project, or for a competitive quote click the button below.
Video content creation for corporate, marketing, and promotional projects in and near:
West Midlands county: Birmingham, Solihull, Sutton Coldfield, West Bromwich, Dudley, Walsall, Wolverhampton.
Staffordshire: Lichfield, Tamworth, Stafford, Cannock,Burton upon Trent.
Shropshire: Telford, Shrewsbury, Bridgnorth, Kidderminster, Ludlow.
Worcestershire: Bromsgrove, Reditch, Droitwich, Worcester,
Warwickshire: Warwick, Stratford upon Avon, Leamington Spa, Coventry, Nuneaton,
Comments are closed