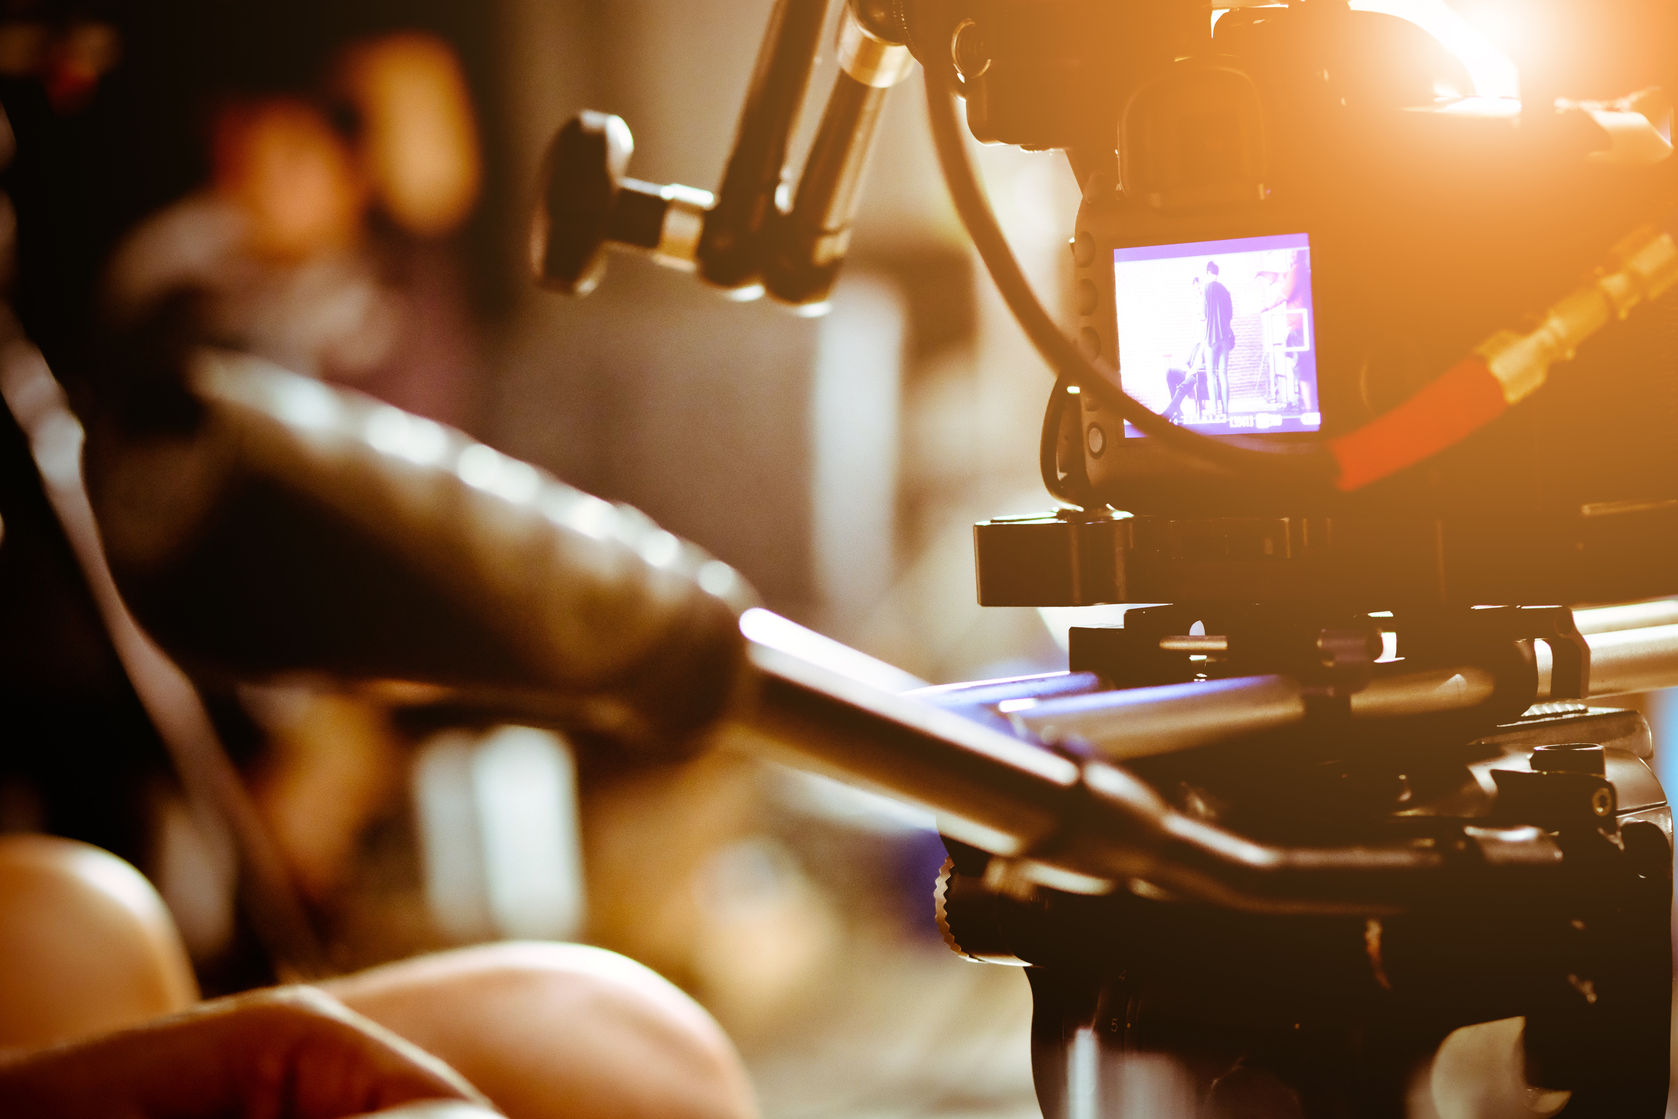
You don’t need to spend a small fortune on expensive video gear to make your filming more professional. It’s far more important that you learn how to use whatever equipment you have well. My tips below will help you to improve your filming using simple equipment and techniques. Hopefully, they will form a basis of good practice that will stay with you, helping you to make your filming look more professional at whatever level you work.
No shame in starting simple.
It’s so easy to get caught up in the gadget game with anything involving technology. Fortunately, however, with care, you can make acceptable videos with what you probably already have, a smartphone. In fact, there is a good argument for mastering the most basic equipment before you complicate things with extra features.
If you’re investing in a camera, most modern mirrorless and compacts will shoot great 1080p or 4K video. Don’t get too hung up on the 4K thing. Bear in mind that loads of TV content isn’t even in full HD (1080p) yet. It’s what you do with your camera that counts.
A few basic dos and don’ts to make your filming more professional.
Whatever device you choose for filming, it isn’t just a case of pointing it in the right direction. There are countless tricks and tips to effective filming, but you can make a good start by doing the following:
- Move yourself to a better position rather than always zooming in/out. This will often give you better results. On the subject of zoom, you should never use digital zoom as this can cause dreadfully pixelated images.
- If you’re using a phone, always turn it on its side, shooting in landscape rather than portrait aspect ratio. While you might think that vertical video is trendy, it’s really just a populist reflection of bad practice by amateurs. Ask yourself, when you last saw a vertical film on TV or at the cinema? If you must shoot vertically, at least do it deliberately rather than out of habit.
- Try to avoid shooting into the light. If you’re not careful, your subject will be thrown into darkness as your camera tries to make sense of the scene. Either that, or your subject will end up against a bleached out, badly overexposed background.
- Think about the composition of your frame and where you put the main subject. You may want to think about conventions like the rule of thirds. Compositional conventions are there for a good reason, they work!
- Keep camera movement smooth and hold your camera as still as possible when you’re trying to film a static shot. Better still, support it on a tripod, one of the first accessories you should get for your camera. You can easily find phone adaptors for tripods and other kinds of camera support like gimbals. But if you need to, you can hold a phone in place with a good lump of Blu-Tack. Shaky camerawork can absolutely ruin otherwise good filming beyond repair.
Let there be light
Any form of photography, videography, or filmmaking involves manipulating or responding to light. No matter how much you spend on gear, how many books you read, or how many YouTube videos you watch, if you don’t think about light your movies will always be found wanting.
Always try to be deliberate about lighting your subject. Even if you’re relying on natural light, think about how it falls on your subject. This will influence your subject’s position, your shooting position, and even what time of day you choose to film. You can also reflect natural light with something as simple as a sheet of white card. Shadows are also a key part of a filmmaker’s lighting vocabulary and can be important to good composition.
Artificial lighting.
If you’re using artificial light of any sort, think about the quality, direction, and balance of your lighting. Perfectly good lighting can be achieved with a single off-camera light and a reflector to add fill light to your subject. Soft, wrap-around lighting produces flattering gradual shadows, that can have a dreamy effect. Hard, directional lighting, on the other hand, gives deep, dramatic shadows, making it popular in the film noir genre.
On-camera lighting is rarely a good idea, except in situations like news gathering when it’s important to be completely mobile. This is because on-camera lighting tends to flatten the subject by filling in all the important shadows that give a subject depth. If at all possible, you should avoid on-camera lighting if you want your filming to look more professional.
Learn more about effective lighting.
Planning is everything if you want to make your filming more professional
Even if you’re just capturing a quick movie of your kids playing in the garden, think about every shot in advance. Consider the angle, background, and composition of each shot and think about capturing the action from several positions. You can then edit these together later to form an exciting visual essay. Just shooting from normal eye level soon gets boring, because it’s how we see the world most of the time.
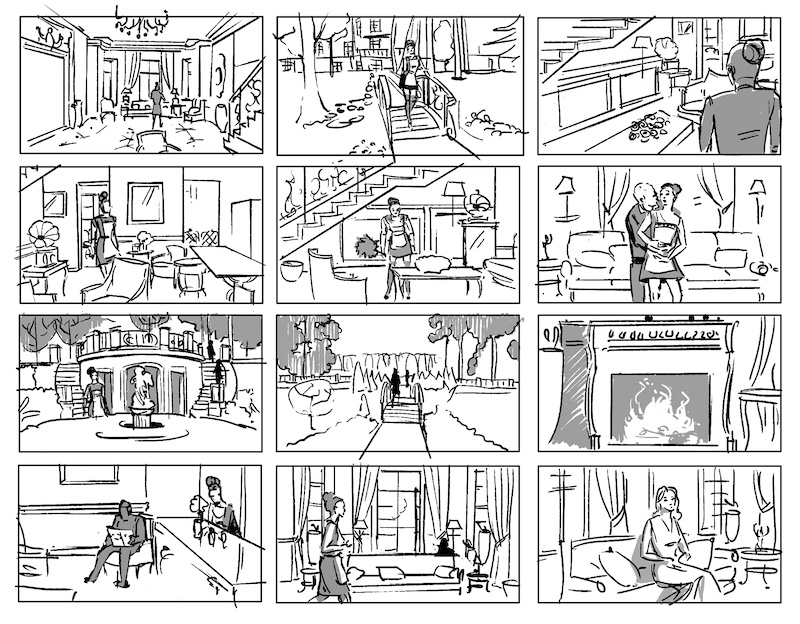
If you’re filming something more ambitious, you should go as far as producing a shot list or even a storyboard. These tools will help you to compose your movie through time. In some circumstances, they will provide you with a shopping list of absolutely essential shots. Miss the exchange of rings while you’re filming a wedding, for example, and you’ll be damned for all time!
If you’re filming in an unfamiliar place, take time to look around before you start. Find the best vantage points, think about lighting, consider what backgrounds are available.
You should always consider the overall style of your movie, as mixing and matching is usually a mistake. Don’t throw in gimmicky shots for the sake of it, for example. One of the hallmarks of professional filming is doing something because you should rather than because you can.
Backgrounds can make or break your movie.
Even those shooting news interviews in difficult and dangerous situations consider the background for their shots. The right background can help them tell their story, often better than words, while the wrong background can be distracting. A casual glance through a few YouTube videos quickly shows those who have thought about the background for their videos as opposed to those who have not.
As a simple rule, you should try to include elements that support your message, while removing those that don’t. Elements that support your message could be things that identify your location, or situation for example. On the other hand, your background could give very subtle support to your message. Using pastel colours in a well-being video, or vibrant colours behind a children’s storyteller would be good examples.
Messy or cluttered backgrounds can create a serious distraction from your subject and should be avoided. For this reason, many videos are shot in front of plain backgrounds that have either flat or very simple lighting. If you’re shooting in front of a plain background, move your subject forwards to avoid casting distracting shadows.
Make your filming more professional by improving your composition.
It’s very easy to tell the work of a professional videographer or filmmaker from that of a novice. And, perhaps surprisingly, you don’t necessarily need much knowledge to tell the two apart. Your experience of watching professionally filmed movies is often enough. Poor or thoughtless composition is often the biggest giveaway in this respect.
When we look at a film or video frame, our eyes, or rather our subconscious, expect to see certain things. We expect elements within the frame to draw our attention to the main subject, for example, we don’t expect to have to look for it. Similarly, we don’t expect distractions to compete for our attention.
Whos house is it?
Ensuring that your key subject occupies a dominant position in the frame is important. However, it’s also important to remember that most important doesn’t necessarily mean biggest. Using position, shapes, lines, and lighting to force our attention can make even the tiniest subject dominate a frame.
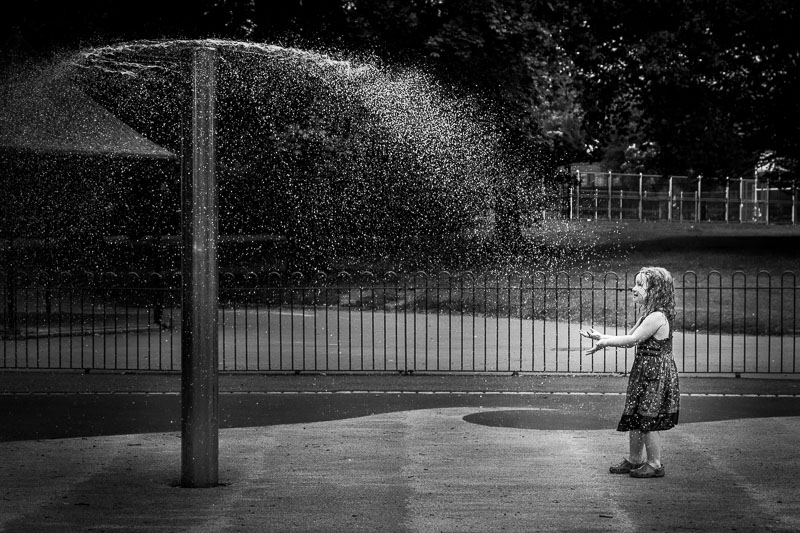
Even a small subject can be made to dominate a frame.
I mentioned the rule of thirds earlier, but it’s worth emphasising just how powerful it is. A subject placed one-third of the way in from the edge of the frame is very dominant. If you place that element at the intersection of both horizontal and vertical thirds, the effect is even more powerful. Portrait photographers and painters often apply the rule of thirds when positioning the eyes of their sitter in the frame.
Don’t rub them up the wrong way!
We also don’t like things that jar, such as disturbances at the edge of the frame. A common mistake is cutting off the top of a person’s head when much of their body is visible. Conversely, however, it can work well if their face occupies most of the height of the frame. Cutting off feet just above the ankle is also jarring while cutting someone in half around the waist is fine. An experienced videographer or filmmaker will pay just as much attention to the edges of a frame as to the interior of it.
Think 4D.
Unlike still photos, our movies happen through time, meaning we can also use movement as a compositional tool. Thinking about where a subject enters and exits a shot can create interest or dramatic tension. Considering how your subject moves from shot to shot can also help to create flow through a scene.
A few technical tips to make your filming more professional.
Camera position.
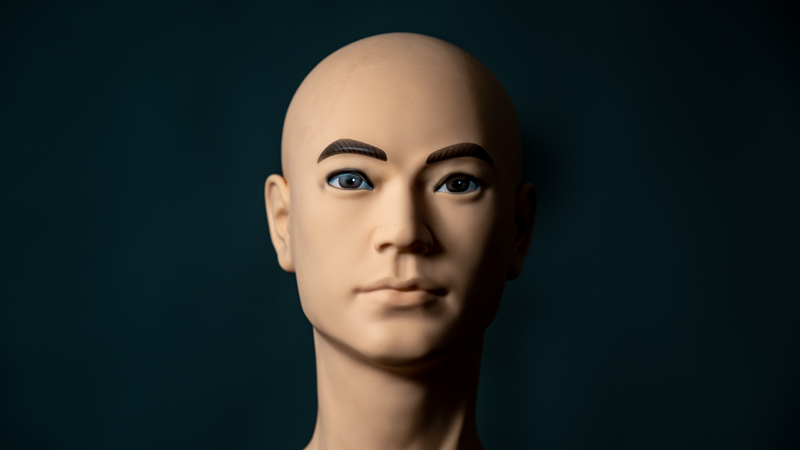
I’ve already mentioned camera and subject position a few times with regard to composition and lighting. However, there are also some technical issues to consider. For example: shooting someone’s face from too close up can cause disturbing facial distortions. This may, of course, be what you intend, for a horror movie, but most of the time it’s just bad. Similarly, you should ensure that your camera is horizontal unless you’re trying to create a Dutch angle for dramatic effect.
Focus.
You should always think about what you need to be in focus in your shot and set your camera accordingly. While autofocus can often work well in more static situations, it can create havoc when elements are moving in the frame. Manual focus, on the other hand, gives you far more control, both technically and creatively. Learning how to use autofocus effectively is useful, but you should definitely learn how to use manual focus too.
Focus isn’t just about keeping your subject sharp, however. If you have a camera that allows adjustable aperture, this can be used to good creative effect by manipulating depth of field. Filmmakers often use differential focus (some things sharp and some things blurred) to draw attention or to help create atmosphere.
White balance.
We know that even natural light changes colour: orange at sunrise and sunset, blue in shade, etc. However, our eyes, or rather our brains can make sense of those changes without any effort. A camera isn’t quite so clever.
Learning to set the white balance in your camera is important for maintaining consistency. Just like autofocus, auto white balance can be fooled, so you should learn to set white balance manually. This is particularly important if you are using more than one camera to shoot a scene. In this case, you should use a common target, such as a grey card, as a reference point for all your cameras.
Learn more about multi-camera production.
You can also use white balance for creative effect. Setting a false white balance can make a scene look warm or cold, for example. The important thing is that you maintain consistency throughout the scene. Again, you should learn how to do this deliberately, rather than by accident.

A typical grey card.
Consistent exposure.
Just like white balance, managing exposure will help you to maintain consistency throughout a scene. While you might be tempted to rely on autoexposure, this can be fooled, leading to problems. It’s much better for you to use manual exposure control if this is available.
Judging exposure can be as simple as looking at your LED screen and matching up what you’re about to shoot with your last shot. However, you will find a number of tools on most cameras, such as histograms, that remove the guesswork. If you’re using multiple cameras in one scene, managing consistent exposure is even more important.
Using creativity and judgement (getting clever, but not too clever).
Creative camera techniques.
A visually interesting movie combines a number of different types of shots. You will see different camera angles, static shots, pans, slider shots, focus pulls, dolly-zooms, and all sorts of other tricks to keep the viewer interested. You should try to bring some of these techniques into your own movie-making to make your filming look more professional.
However, there is a difference between decorating a cake and burying it! Try not to overdo anything. Only use these techniques when they add something to the story you’re trying to tell, otherwise they’ll detract from it. In other words, do things because you should, not because you can.
Let it flow.
Part of a filmmaker’s art is creating flow and dynamics, both within a scene and throughout the film as a whole. You can achieve this, in part, during editing, but you also need to think in advance.
Long, unbroken shots have their place in filmmaking, but more often we try to maintain pace by cutting frequently. For this reason, you should try to keep individual shots fairly short, unless you deliberately want to do otherwise. As a rule of thumb, you should try to keep shots somewhere between 5 and 10 seconds in length. Shorter if you want to increase the pace, an action sequence, for example. Longer if you want to slow things down.
Professional filming is often about giving yourself choices.
There’s an old saying that ‘it’s better to have it and not need it than to need it and not have It’. There’s nowhere this applies more than in filmmaking. Having a variety of shots at your disposal when you come to edit gives you choices. With luck, you’ll be making your decisions based on aesthetics rather than necessity. However, there will be times when having that extra shot or two will save your bacon.
Even the most experienced filmmakers occasionally need to dig themselves out of a hole sometimes by masking errors. Having alternative shots that you can cut to at the opportune time avoids reshoots, or worse, using poor footage. Over filming or shooting to edit is an important habit to get into.
Learn your gear!
Military training often involves quite extreme scenarios, taking a gun apart and reassembling it blindfold, for example. The purpose behind this is that a soldier learns their weapon beyond the debilitating effects of stress. I’m not suggesting for a moment that most filmmakers will ever be in mortal danger during filming. However, knowing how to get your equipment to do what you want it to do should be second nature. If it isn’t, minor issues will inevitably stop you in your tracks during a busy shoot.
Practicing setting up your equipment and changing settings will stand you in good stead. Similarly, unfamiliar equipment should never be used straight out of the box. All tech products have idiosyncrasies that tend to catch you out when you least want them to.
Stourbridge-based Mooma Media offers event audio-visual support, event filming, live-streaming, video production, and still photography services to businesses, the public sector, and other non-commercial organisations throughout the Black Country and the wider West Midlands region. To discuss your project, or for a competitive quote click the button below.
Professional filming in and around:
West Midlands county: Birmingham, Solihull, Sutton Coldfield, West Bromwich, Dudley, Walsall, Wolverhampton.
Staffordshire: Lichfield, Tamworth, Stafford, Cannock,Burton upon Trent.
Shropshire: Telford, Shrewsbury, Bridgnorth, Kidderminster, Ludlow.
Worcestershire: Bromsgrove, Reditch, Droitwich, Worcester,
Warwickshire: Warwick, Stratford upon Avon, Leamington Spa, Coventry, Nuneaton,
Comments are closed